There are a few different types of images that can be changed with the Page Builder. After logging into your website, follow these instructions to learn how to change images.
Remember that if you make a mistake while editing content using the Page Builder, you can go to "Done" (the blue button in the top right) and then select "Discard" to erase all the changes you made and start over.
Hero
The "Hero" is the main top image on the home page of your website. Find the "Hero Settings" by hovering over the Hero module.
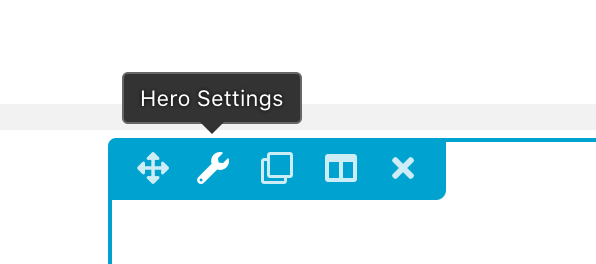
A small window will open with many options for the Hero. Scroll down until you see "Background Settings". There are many options for the Hero image under "Background Type":

Select the image(s) you want for the Hero by selecting the "Edit Gallery" or "Add Photos" under "Images(s)".
Press "Save" when done, go up to the top right of the page and select the "Done" button and then "Publish". Your changes are now live.
Images on a Page
There are two types of images on a page - a column image and an added photo.
You can tell that the image is part of a column usually by text being over the image.
Column Image
To edit a column image, you'll hover over the text on the image and select "Edit Column":

A small dropdown will appear. Select "Column Settings" and a small window will pop open with the column's settings.
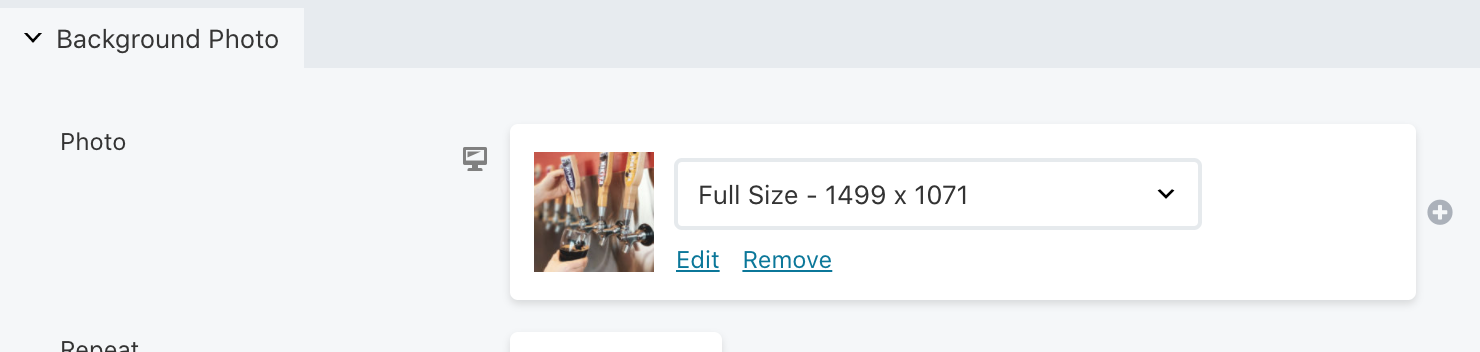
Scroll down to "Background Photo". You will change the image by clicking "Edit" or "Remove"
After changing the image, press "Save", go up to the top right of the page and select the "Done" button and then "Publish". Your changes are now live.
Photo
To edit a photo, you'll hover over the top left of the image you want to change and click the wrench icon "Photo Settings":
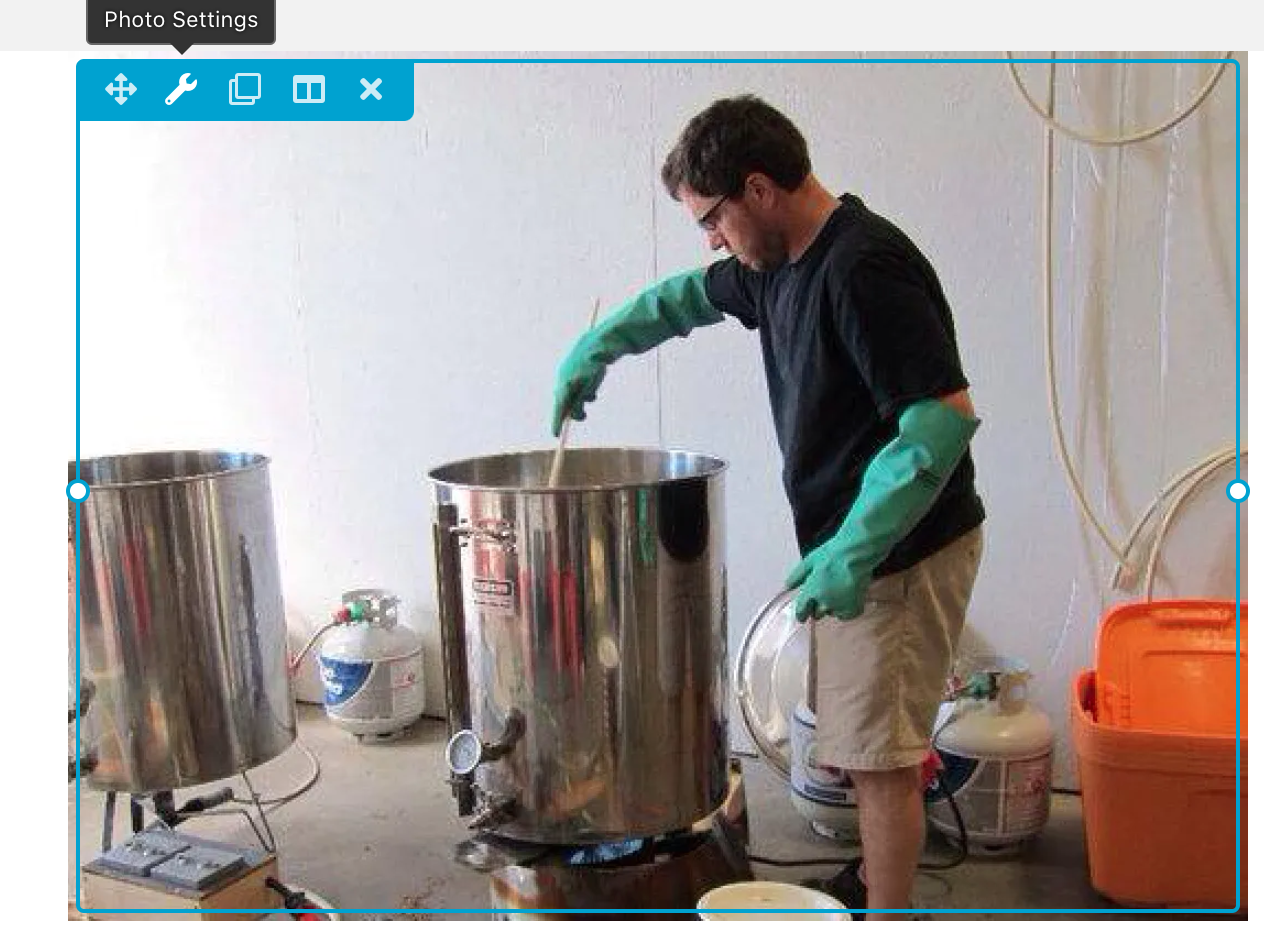
A small window will pop up with the image's settings. You can select an image from your media library or you can use a URL:

After changing the image, press "Save", go up to the top right of the page and select the "Done" button and then "Publish". Your changes are now live.