Connect your UPS account to the online shop to use your negotiated shipping rates.
1. Go to https://developer.ups.com/.
2. Click Create an Application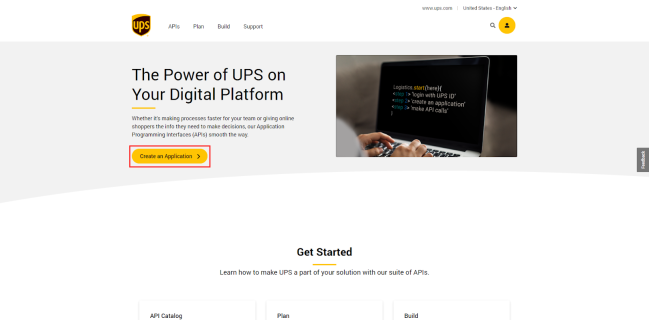
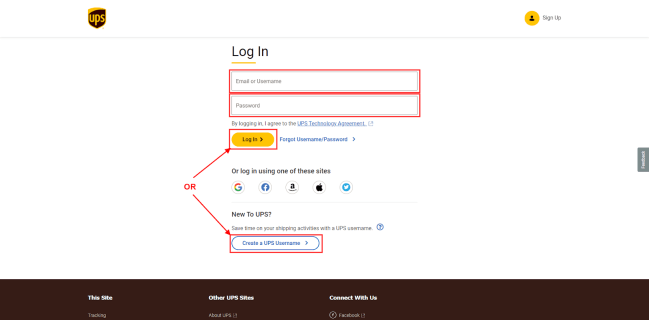
Tip - If you aren’t already logged in, log in to your existing account or create a new account. After logging in or signing up, you will be redirected away from the developer site. Return to it by going to https://developer.ups.com/ and clicking Create an Application again (as described above).
3. Click Add Apps.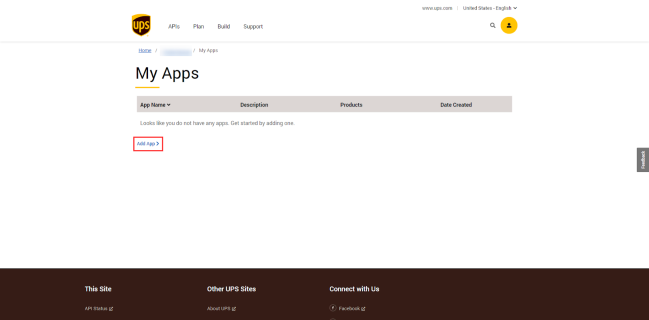
4. On the next screen, select I want to integrate UPS technology into my business and the UPS account you want to associate with the app. Then click Next.

5. Fill out the contact details and click Next.

6. Enter a name for your app (e.g. UPS Shipping Method for WooCommerce).
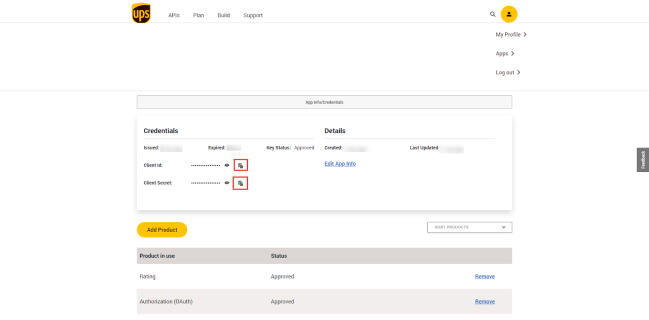
7. Search for and add the Authorization (OAuth) and Rating products, then click Save.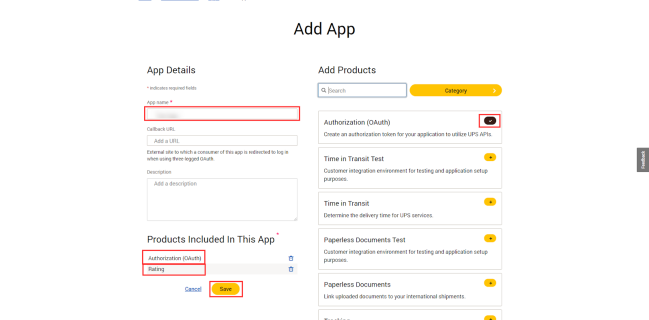
8. ❗️IMPORTANT: Copy the Client ID and Client Secret keys. They will be required in the next step.
9. In your WooCommerce store admin area, go to WooCommerce > Settings > Fulfillment > UPS and input the following settings:

- UPS API type – REST. (Note: if you were previously using the UPS shipping calculator on your ship, this will be set to
- UPS Account Number – Sent to you after signup.
- UPS Client ID – Displayed on the UPS website in step 9).
- UPS Client Secret – Displayed on the UPS website in step 9).
- Customer Classification – Rates associated with shipper number
- Debug Mode – Leave set to Disabled
10. Click Save changes