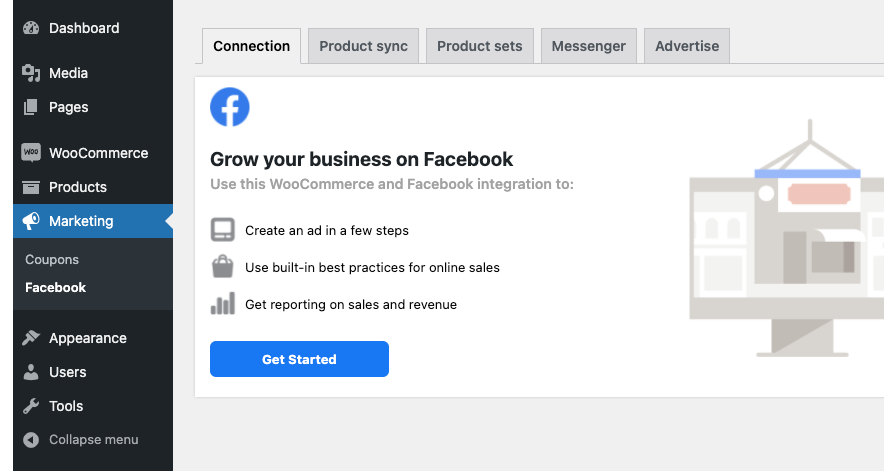
After logging into your online shop, go to Marketing > Facebook
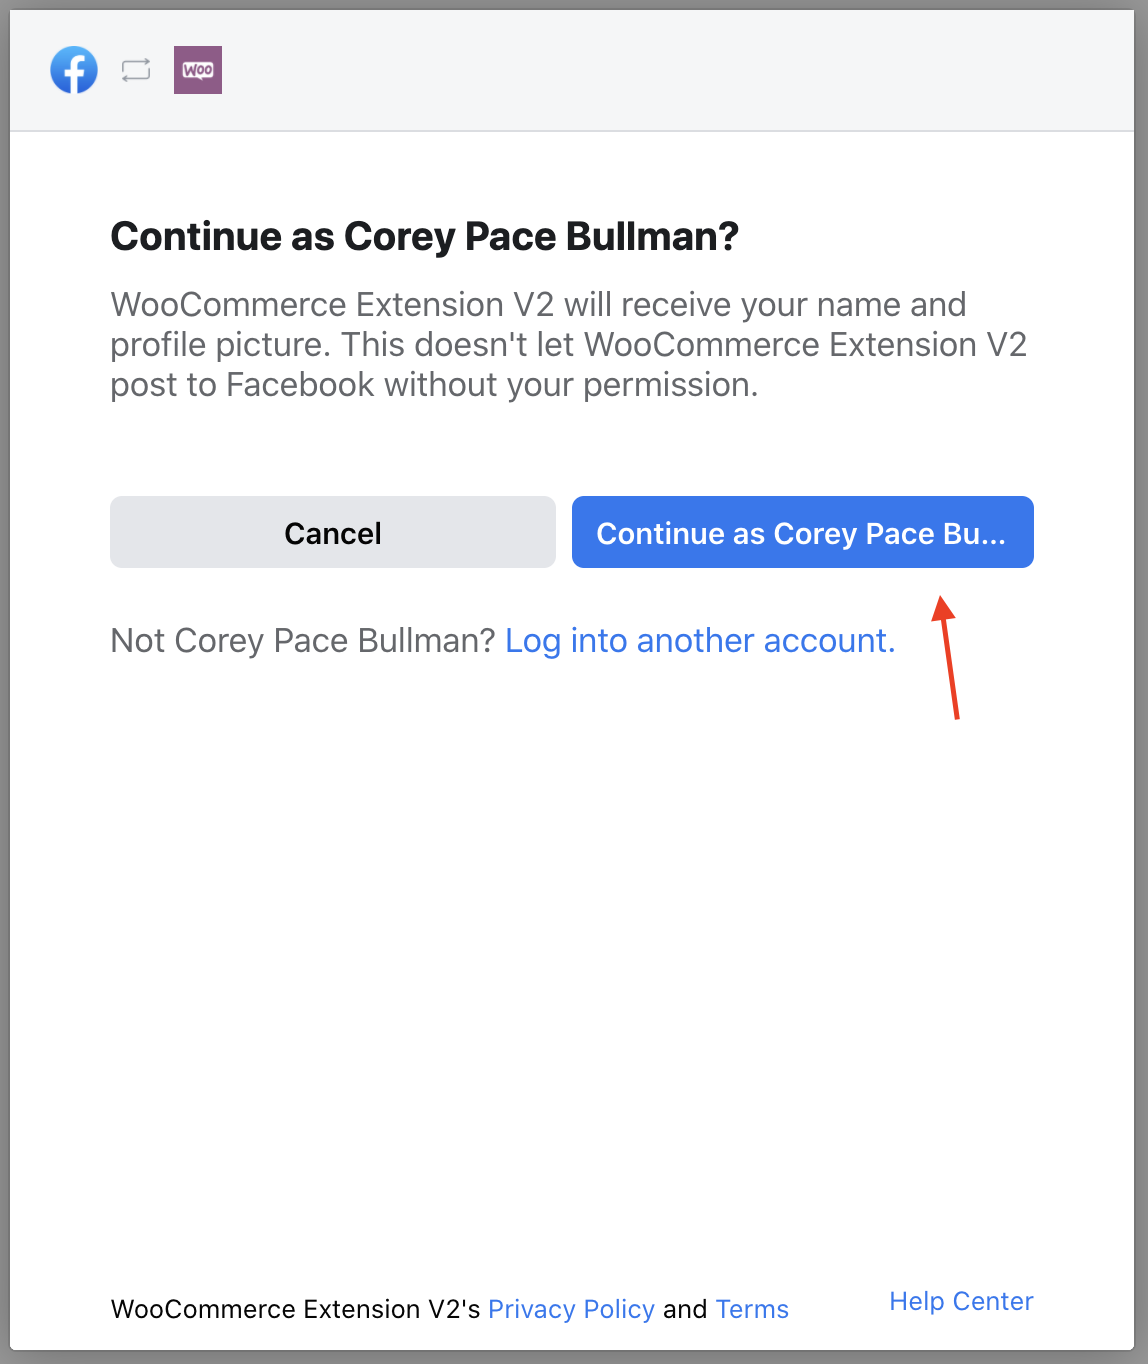
Click "Continue as ____" to confirm that you are logged into the correct account.
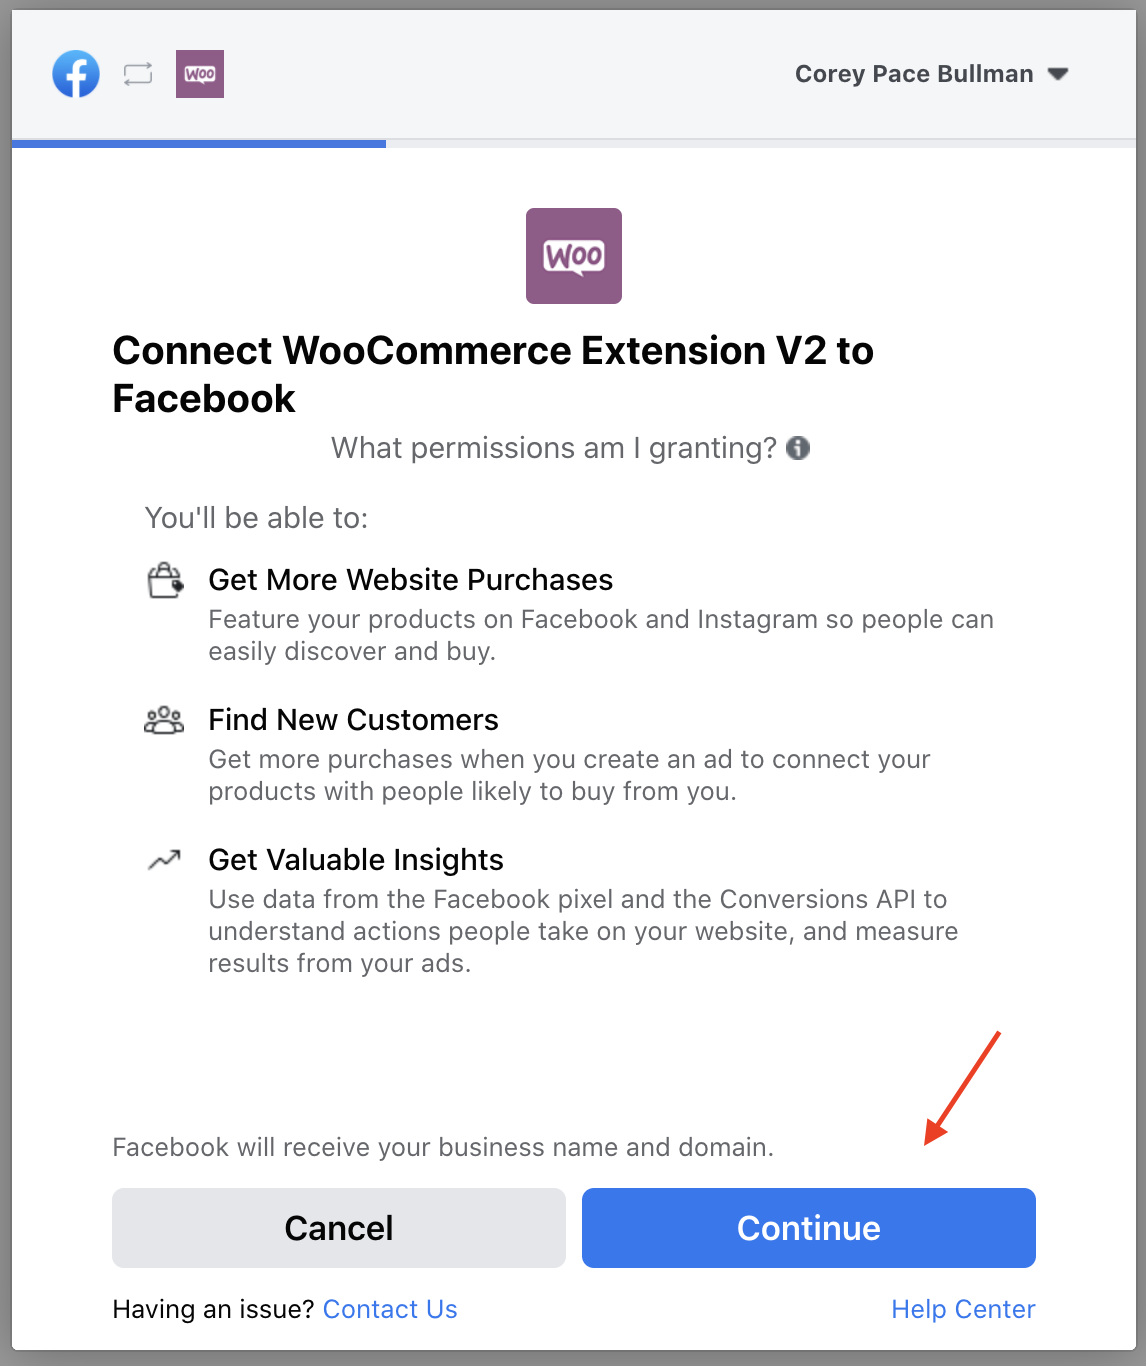
 Click "Continue" again:
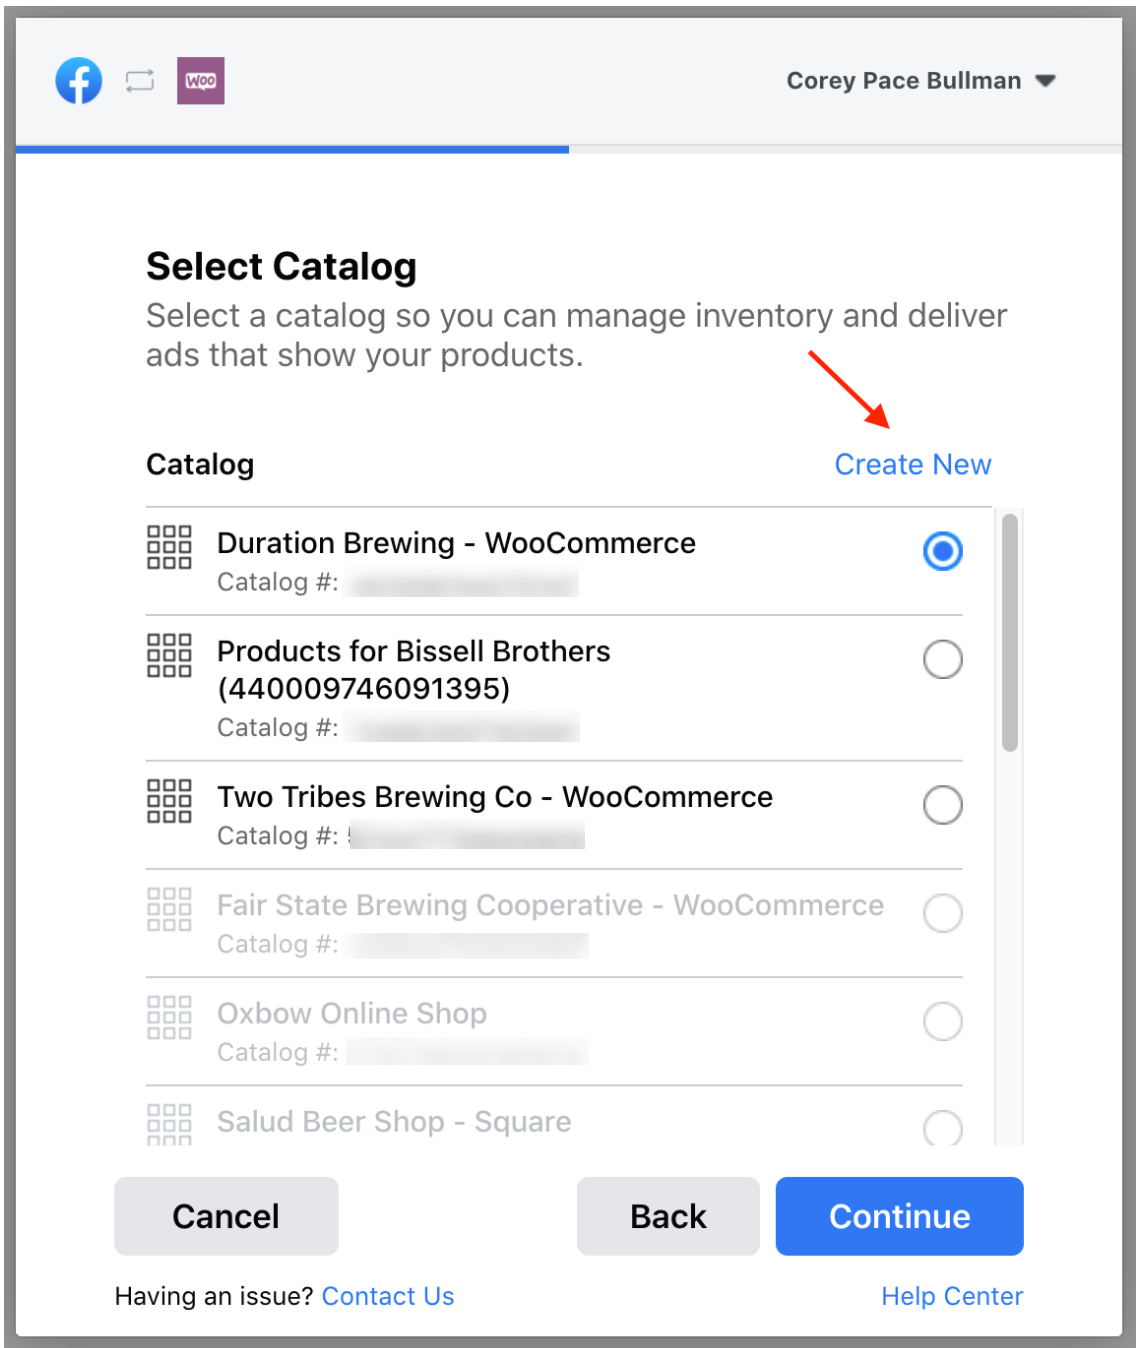
Make sure the Business Manager is correct, check the Catalog*, and also the Facebook Pixel**. Then press "Continue":
An important note: "Automatic Advanced Matching" is only allowed in certain countries (such as the US), so make sure your country allows this. If not, toggle off before pressing "Continue"
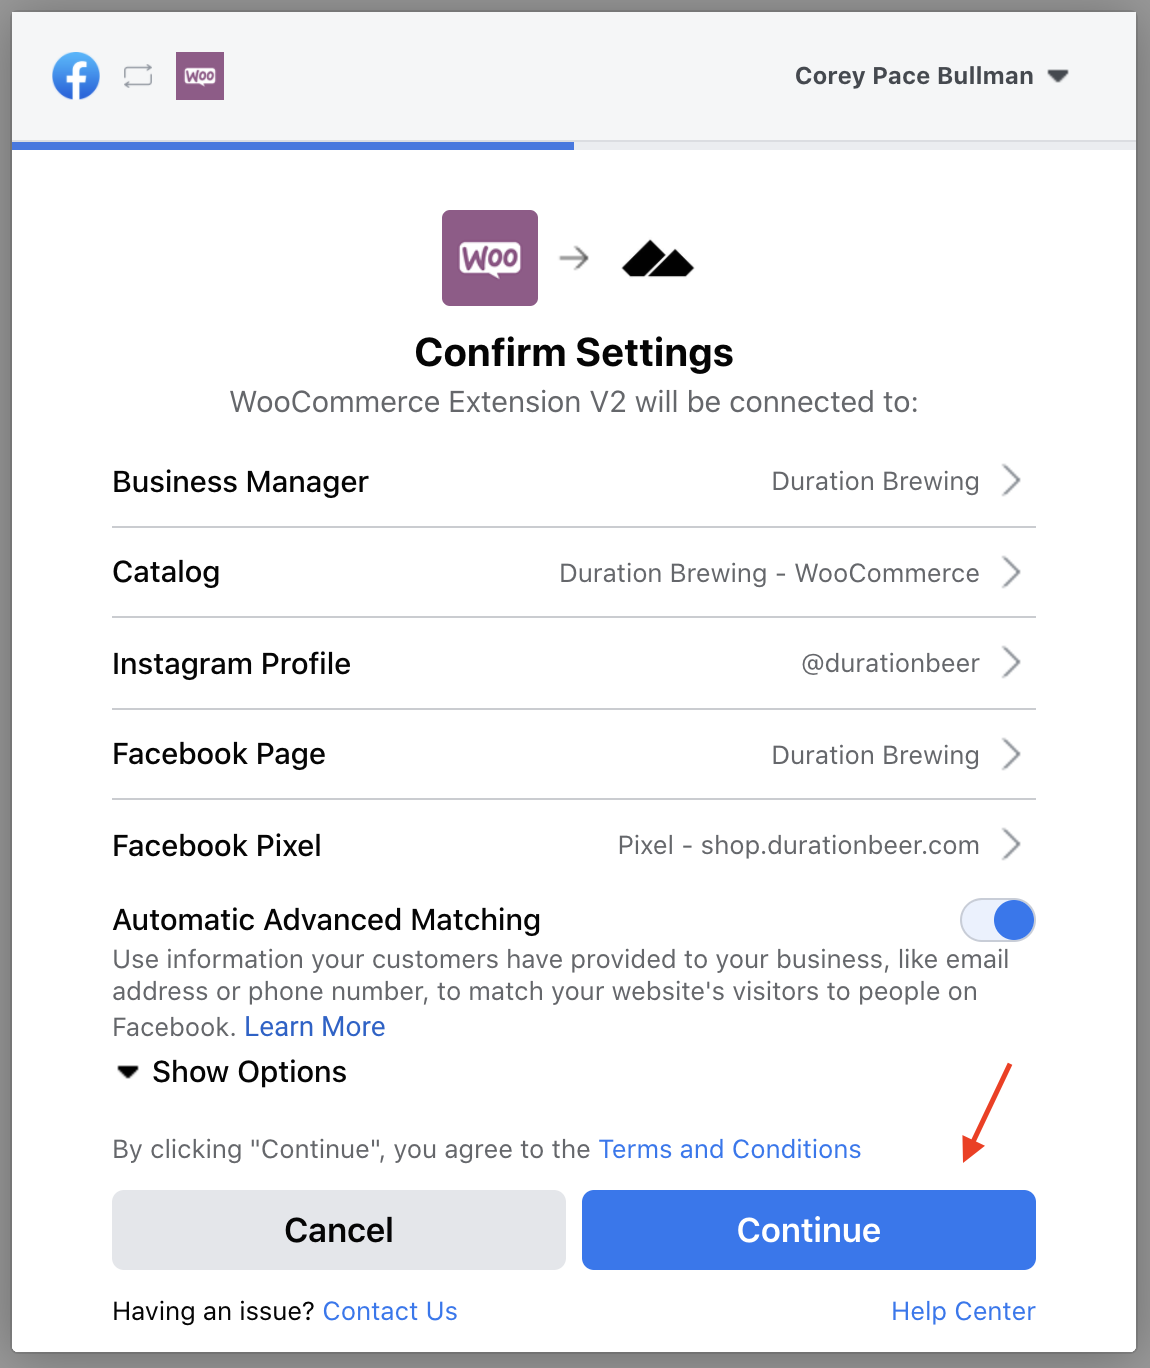
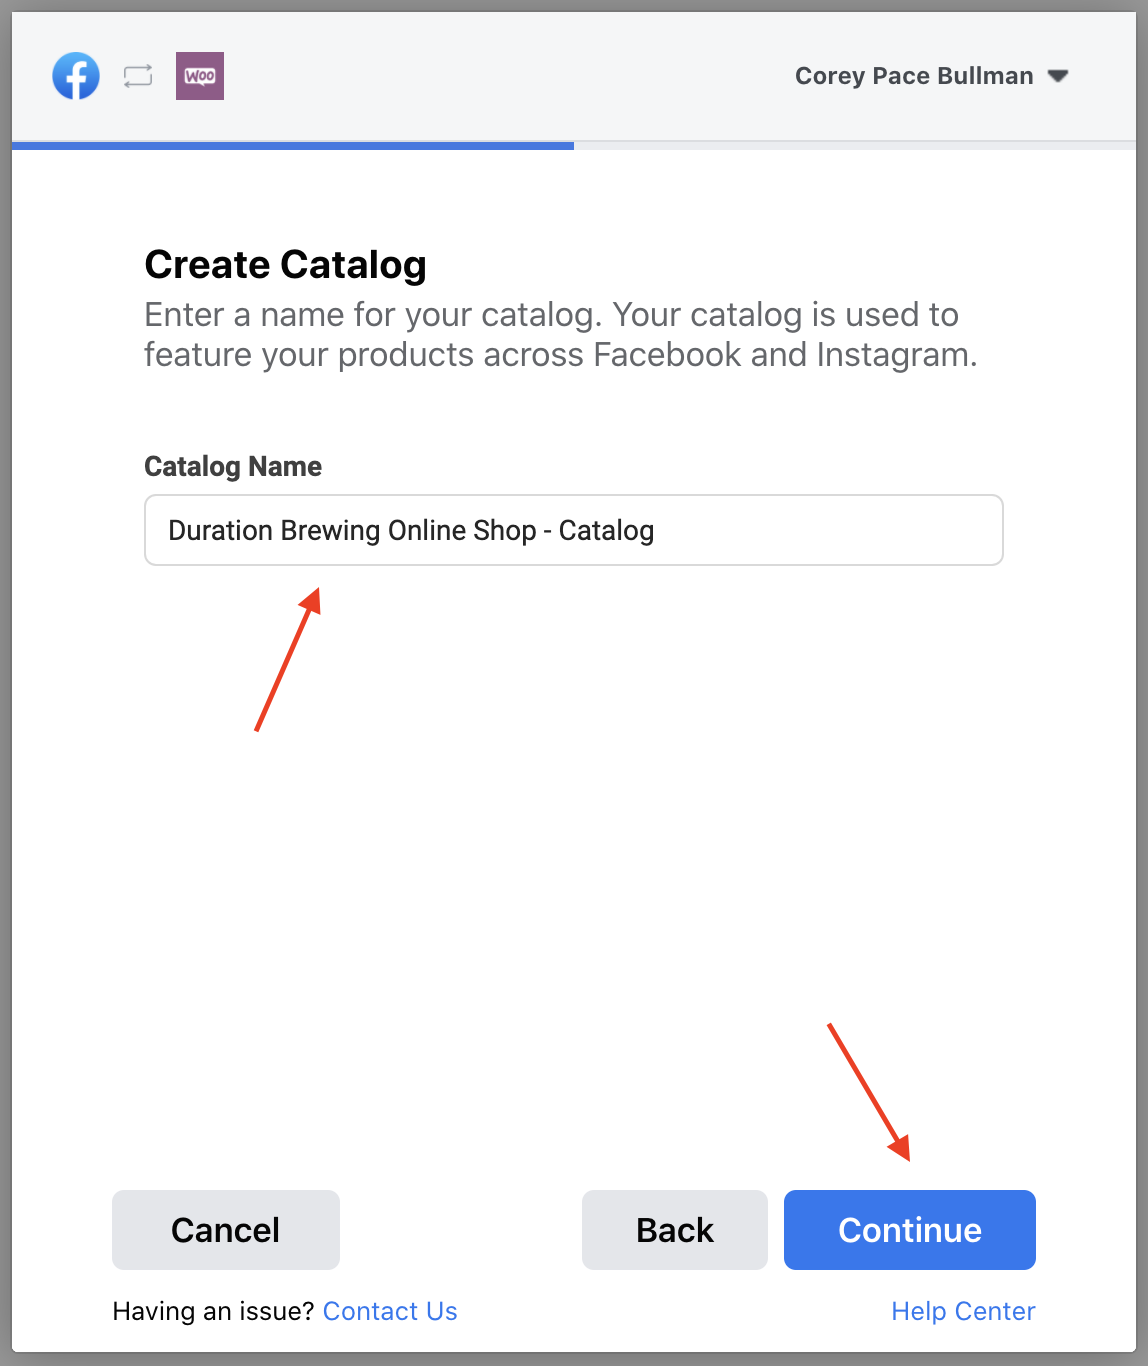
*Catalog: If you need to create another one, click on the Catalog > and then click the blue "Create New" link:
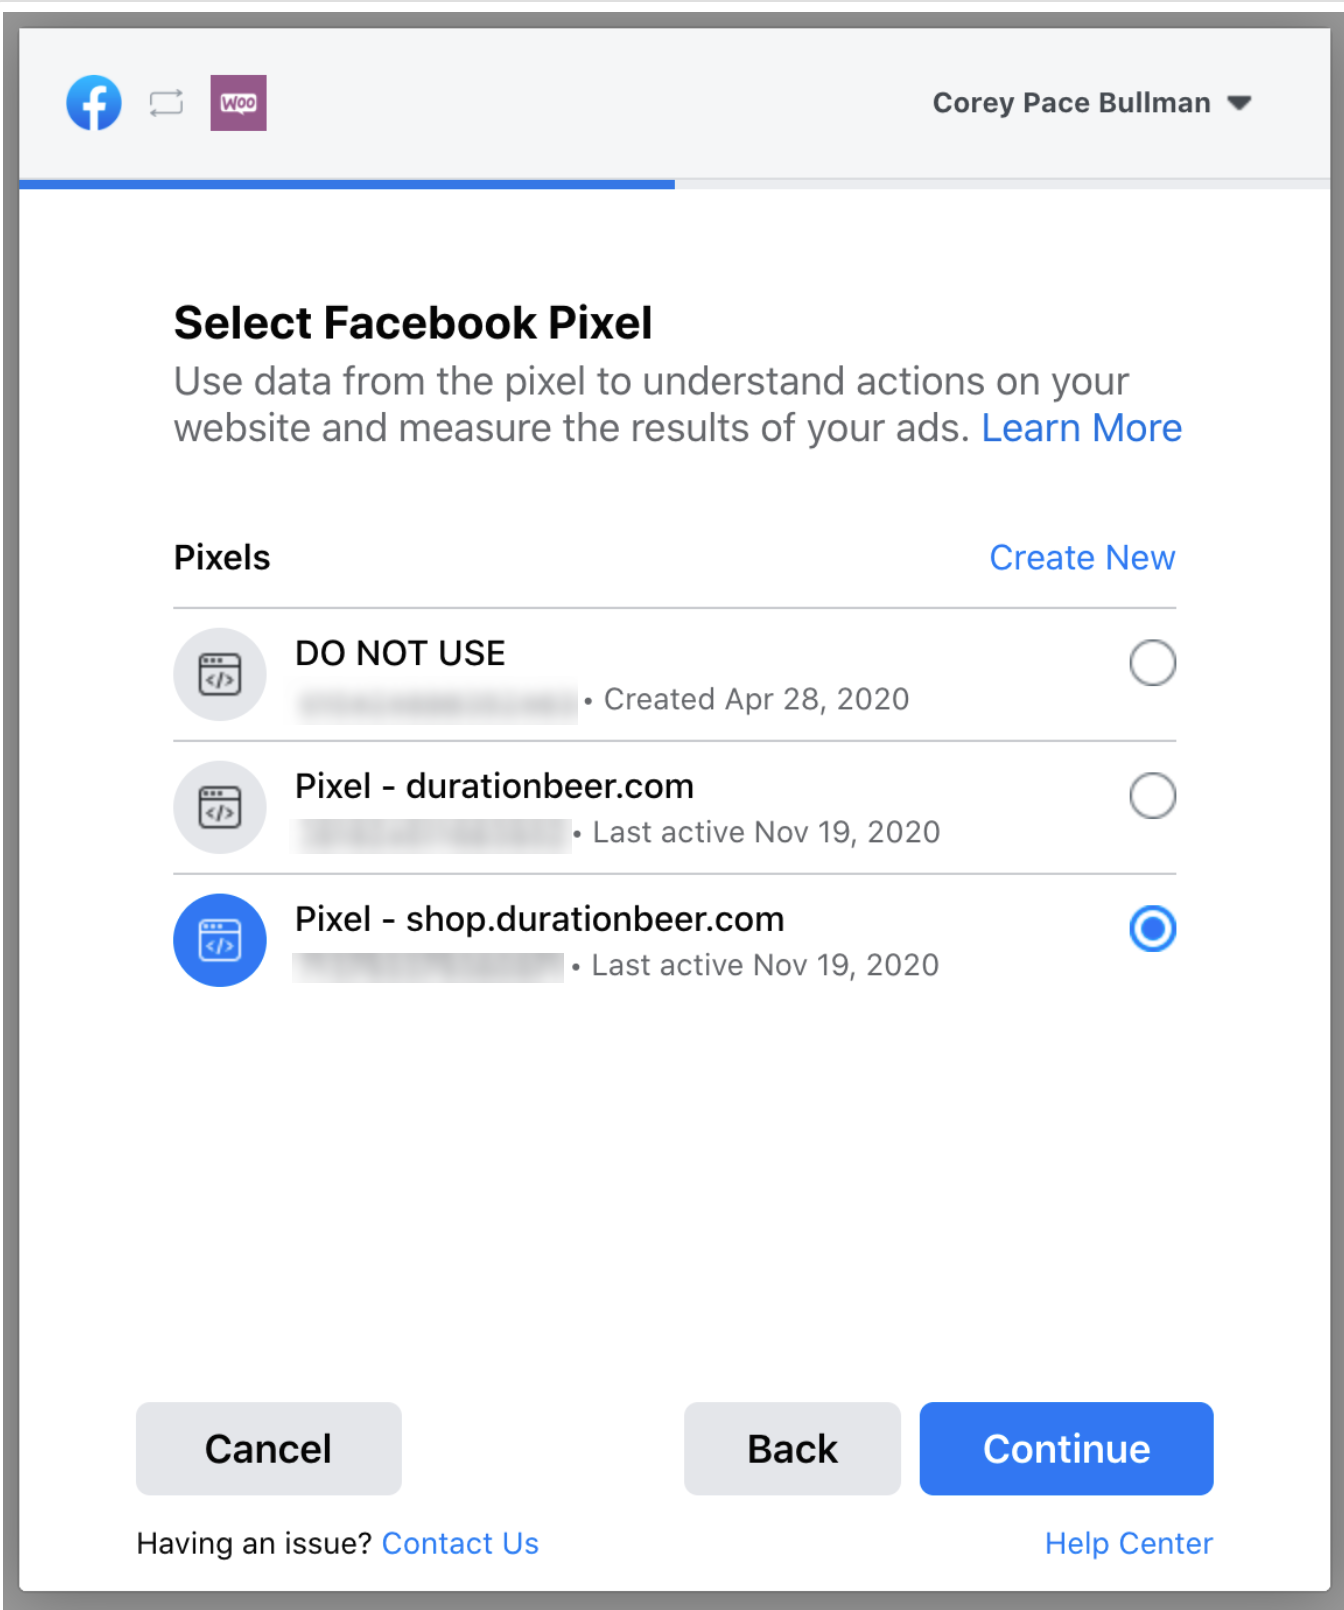
**Facebook Pixel: We recommend using a separate Facebook Pixel for the online store and the website.
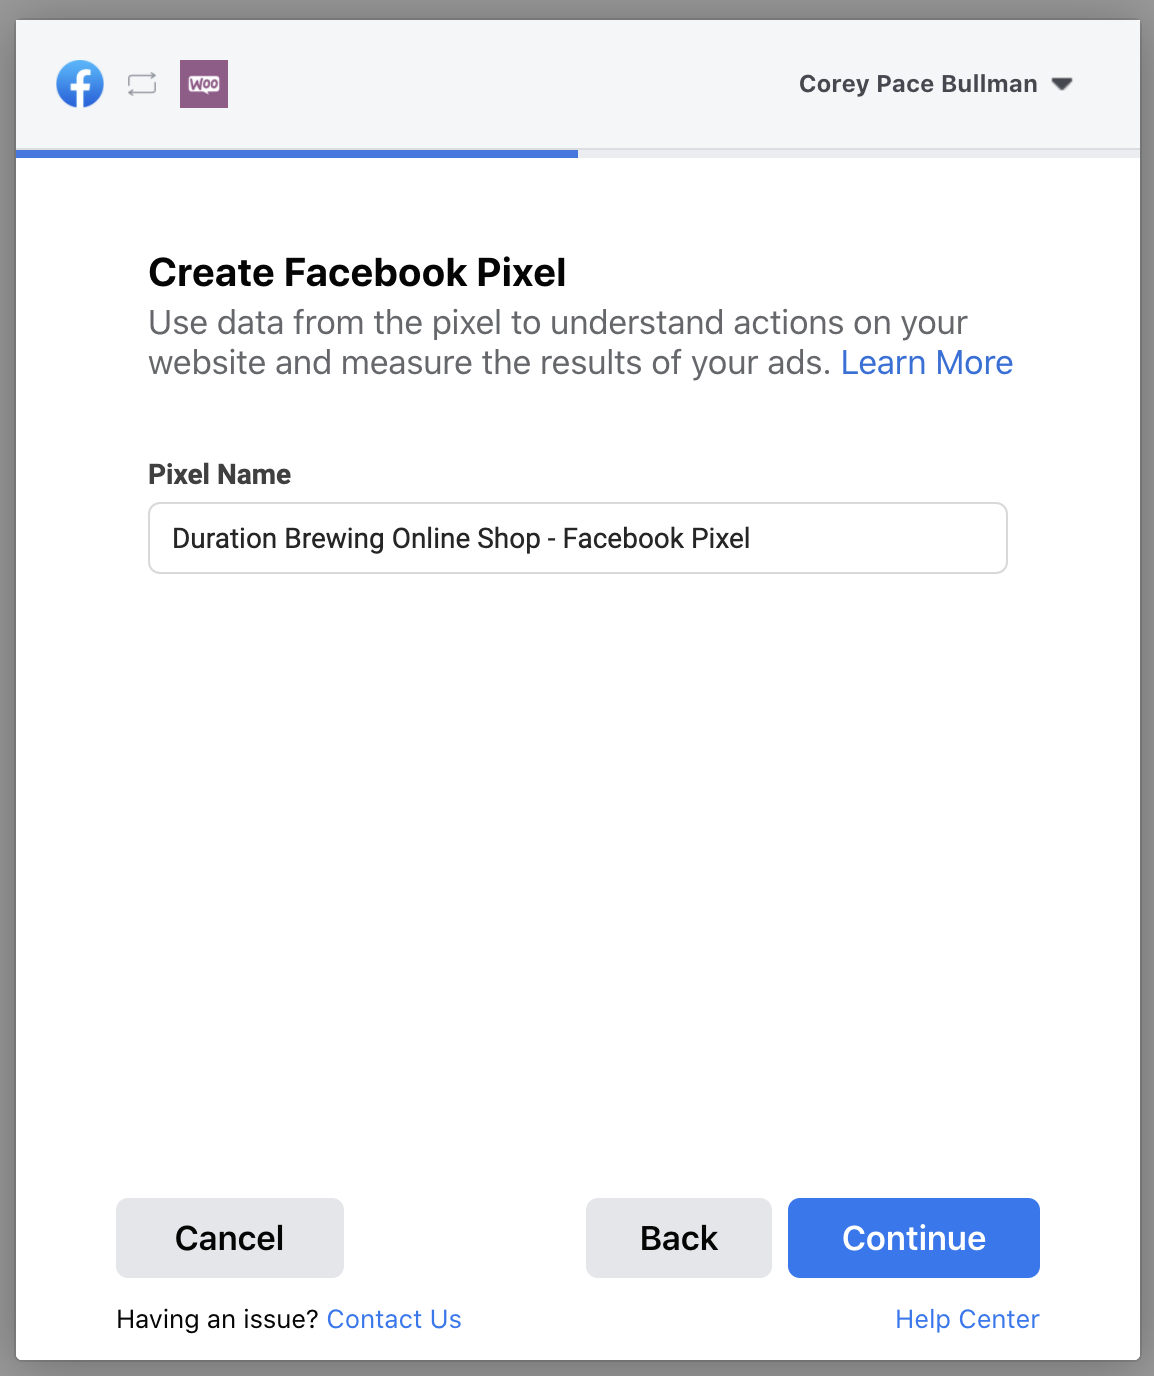
If you need to select a different one or create a new one, click Facebook PIxel > and then press the blue "Crean New" link and follow instructions:
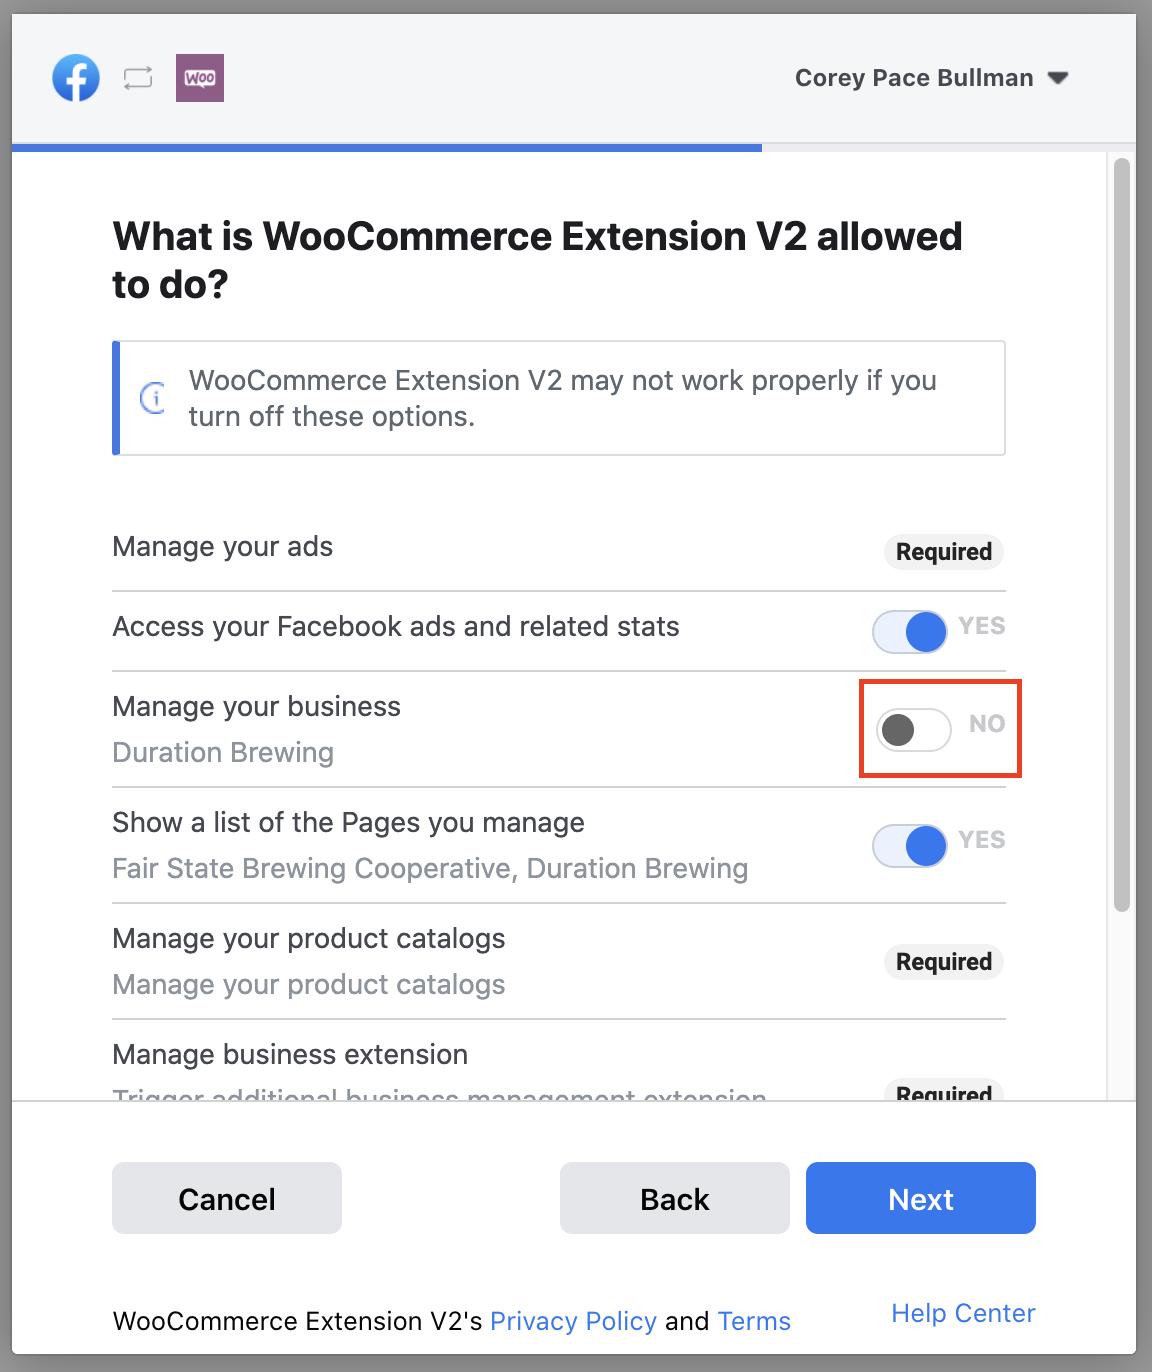
On the next screen, it's essential to toggle ON "Manage your business." It will be toggled off by default but if you do not toggle it on, it will not work. After toggling on "Manage your business", leave everything else toggled on and press "Next":
The next screen will show it being connected to WooCommerce and will let you know if it was successful:
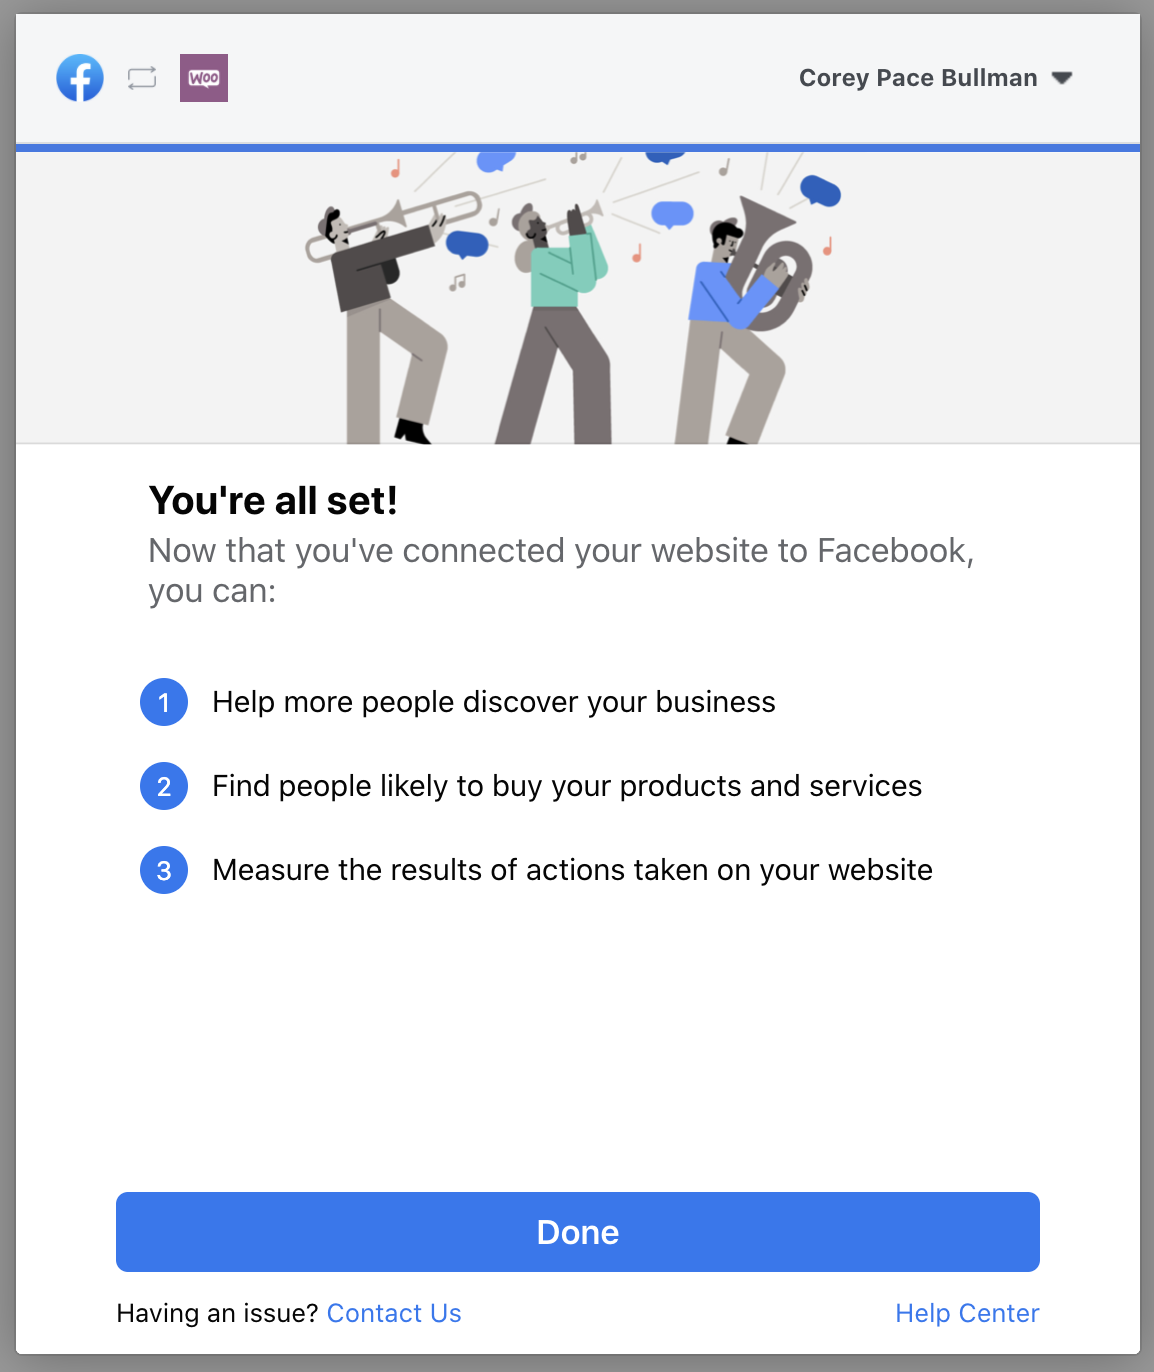
Press "Done" and then it will take you to WooCommerce and you should see this:
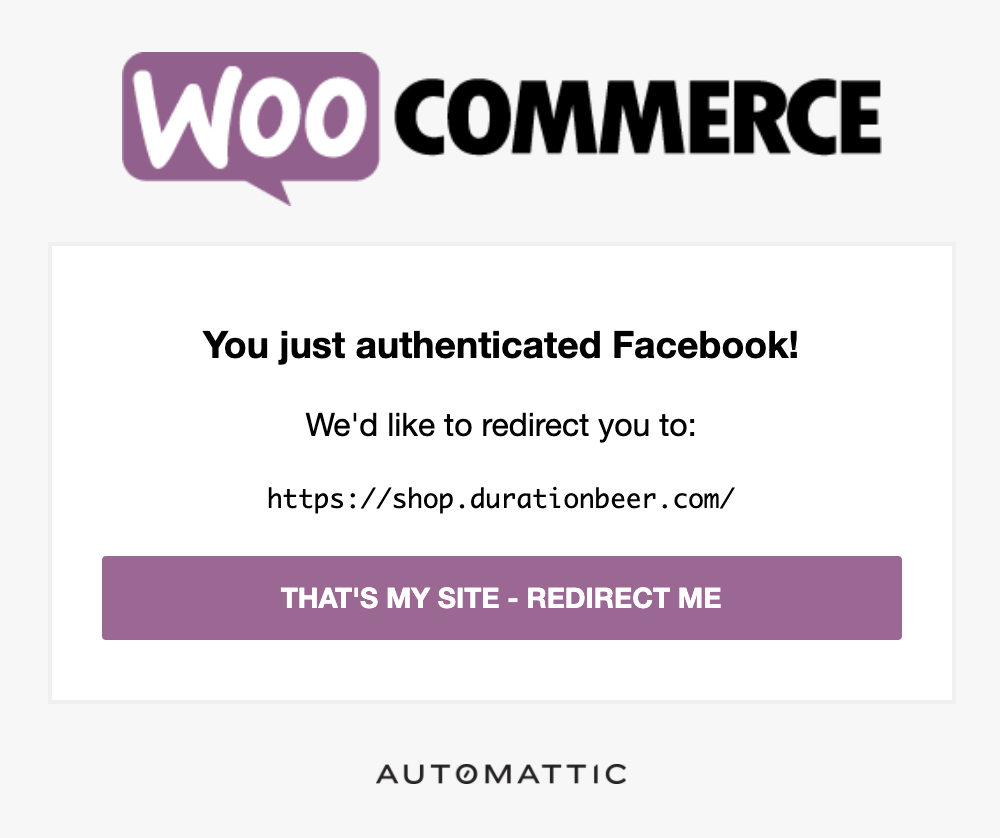
On your shop, you will see a notice at the top saying that the connection is completed and that your account is successfully connected.
Next click on the "Product Sync" tab:

Add all categories that have Beer products to this list: "Exclude categories from sync"
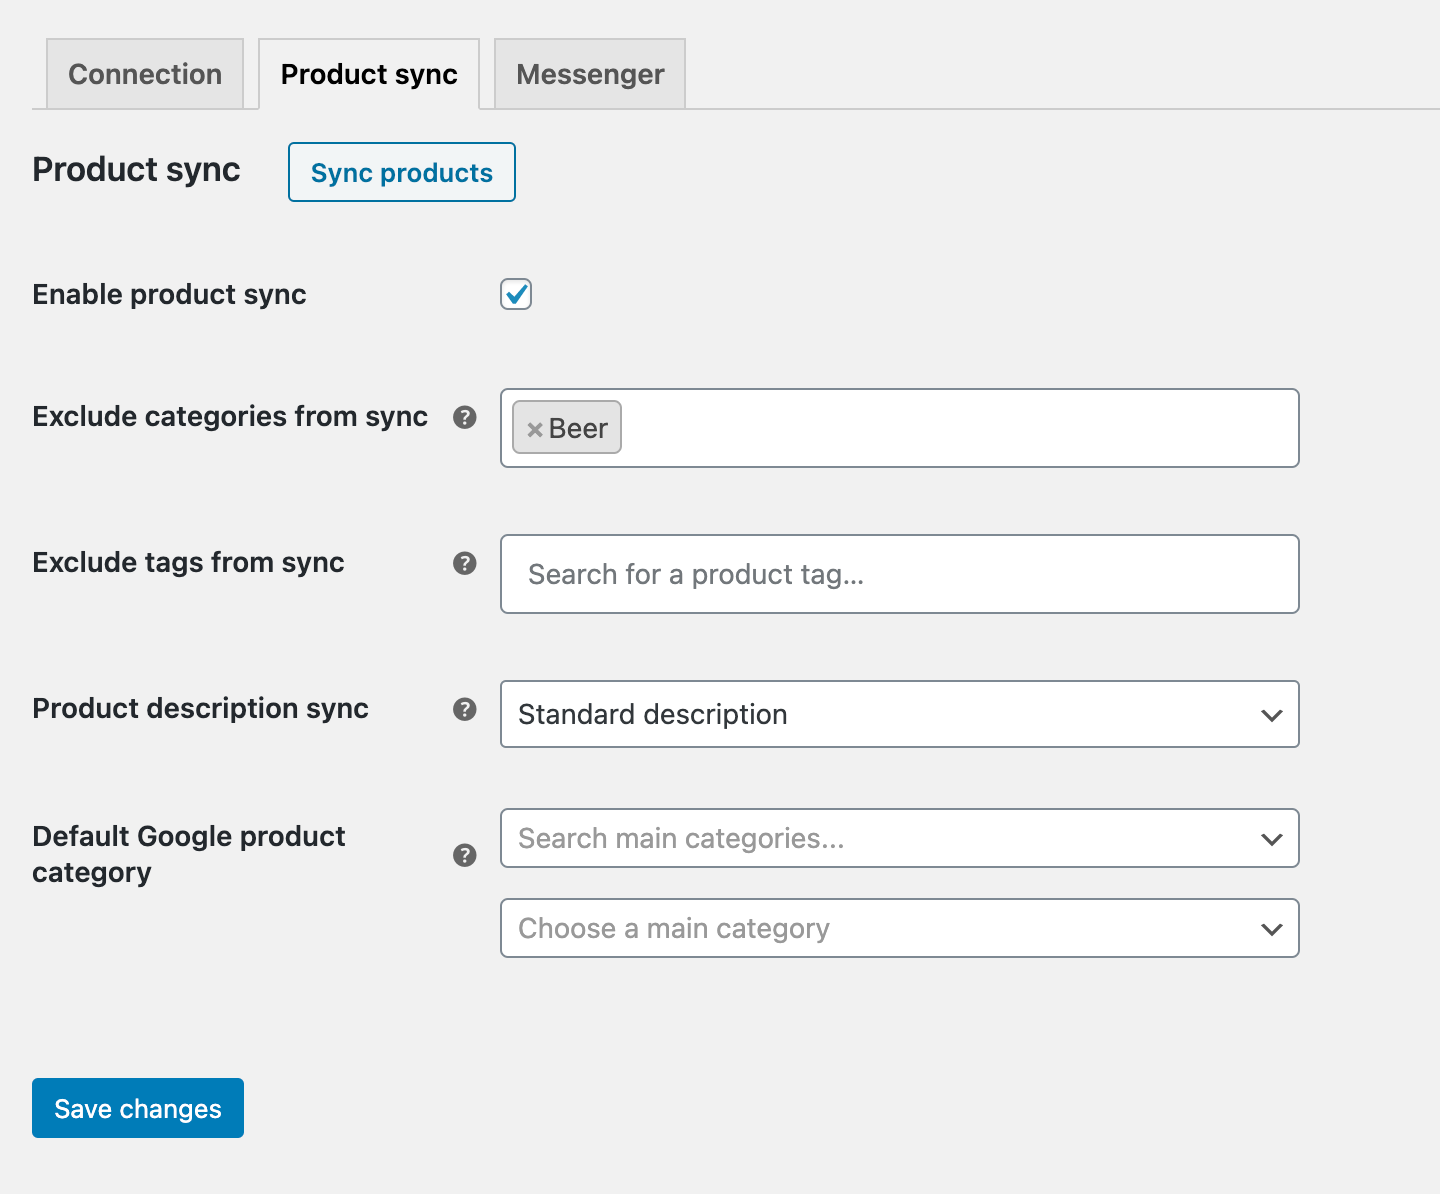
Then click "Save changes"
Now Facebook is connected!