How to add a simple product
The video below will walk you through adding a simple product to our
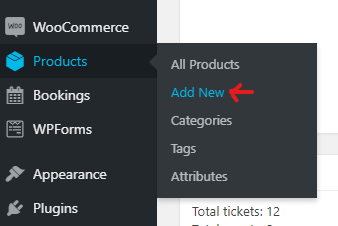
Once you are logged into your shop website, go to "Products" > "Add New":
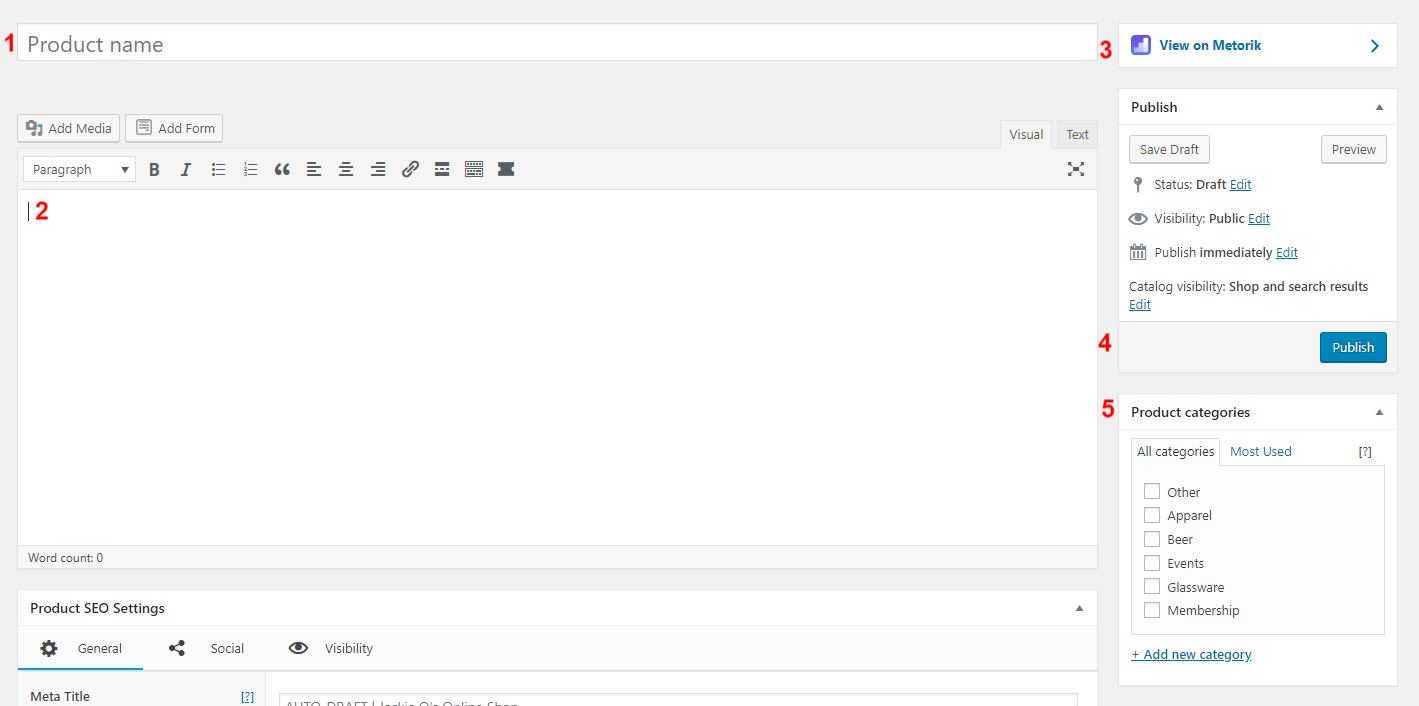
- Enter the product's name here
- This text will show up under "description" on your product's page. Use the short description field below as the description that shows first.
- After publishing this product, you can "View on Metorik" to see all the stats about this product.
- Press the blue "publish" button after filling in all the fields and are ready to make the product live in your shop.
- Select the product's category/categories. If your shop is divided into categories (apparel, beer, etc.), this selection will sort the product correctly within your shop. You can also add a new category here by clicking the blue "+ Add new category" link and filling out the details.
-
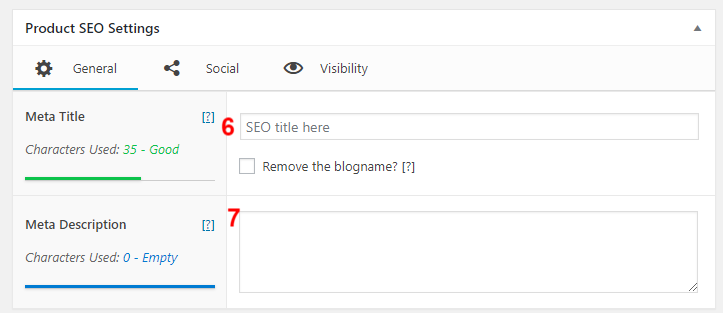
Make sure to fill out the Product SEO Settings. Create a short title for your product. The "Meta Title" has a status bar beneath (green in the pic), to show if the character count is correct for SEO (aim for green).
-
Fill out a short description of the product here (also aim for green SEO status bar).
-
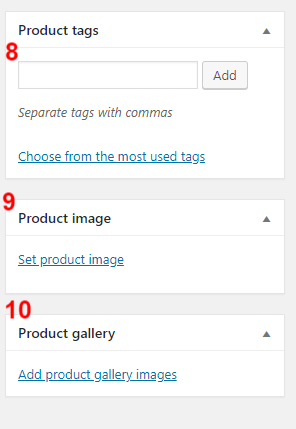
If you use "Product tags" you can insert them here. Separate tags with commas.
-
Set a product image. This will be the main image. Make sure your "alt tag" field is filled out when selecting your picture.
-
If you want to have secondary images, add them in the "Product gallery".
-
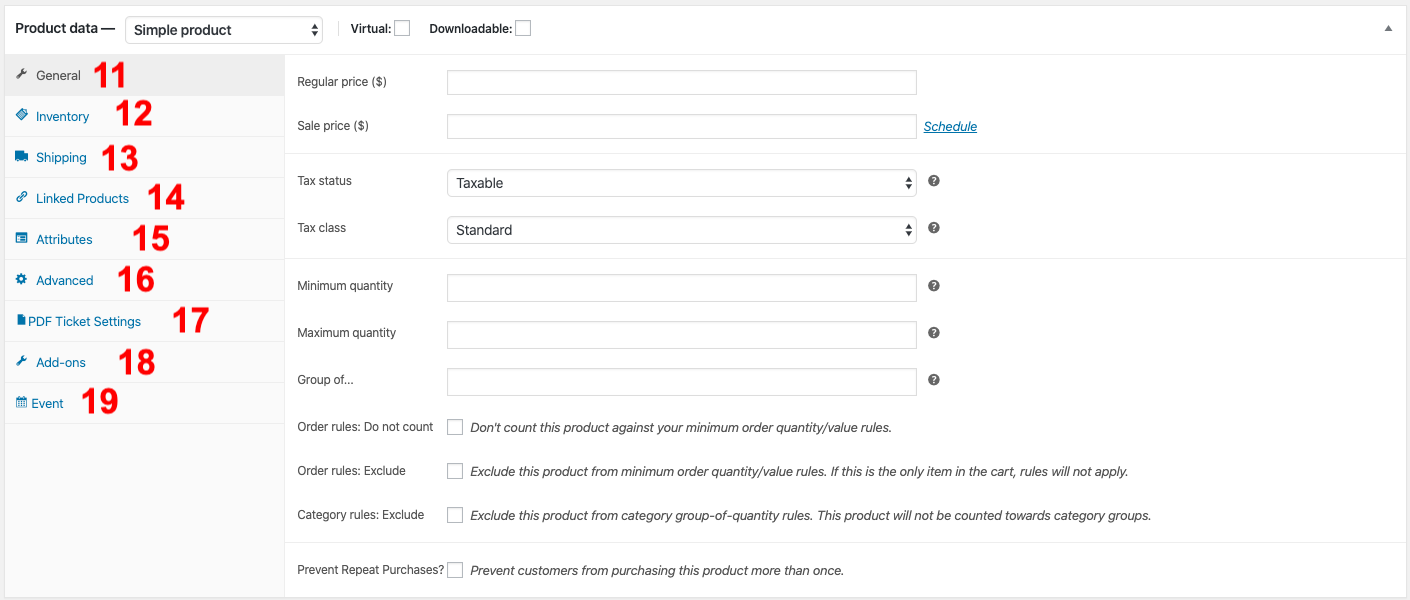
Make sure "Simple Product' is selected from the drop down. Fill out the information for "Regular price". The other fields are optional depending on your needs.
-
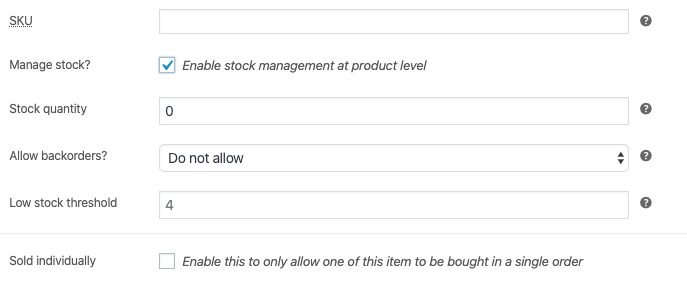
On the "Inventory" tab, create a SKU. This can be anything depending on how you organize your products. Check "Manage stock?" if you want the shop to keep up with inventory levels. Enter the "Stock quantity" and fill in the other fields as needed.
-
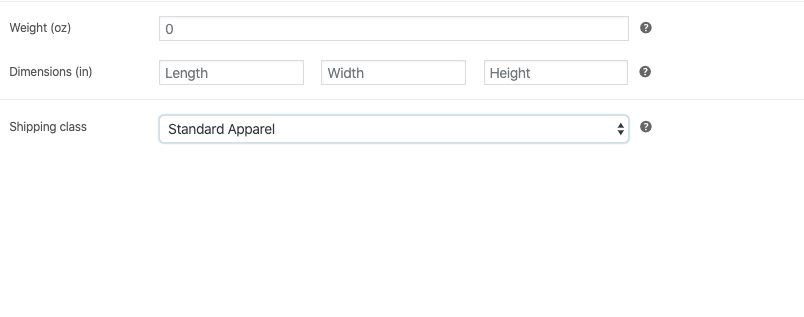
On the "Shipping" tab, you can fill out the weight and dimensions fields if you want these to be used for your shipping rules. These fields will also show in the "Additional Information" area on your product's page. If you have created shipping classes, you can select them from the "Shipping class" dropdown.
-
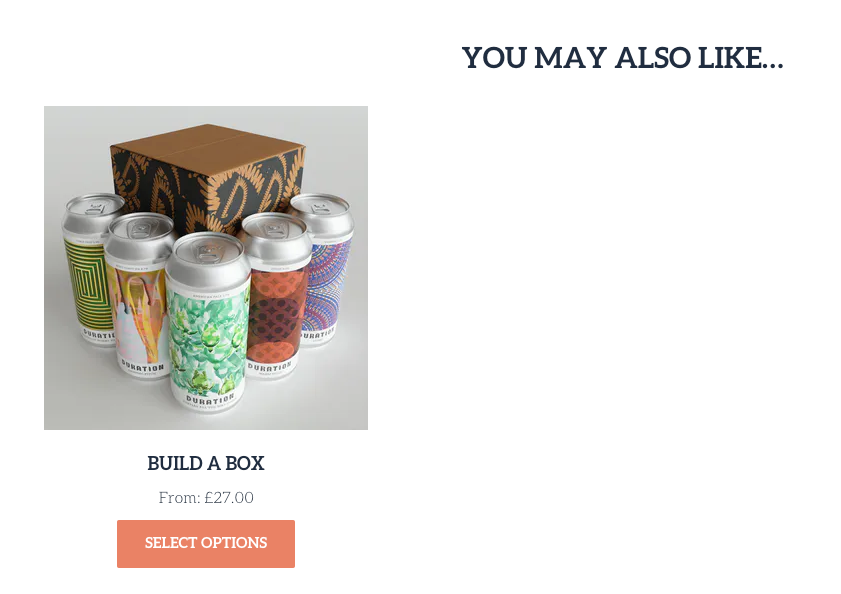
In the "Linked Products" tab, you can select a product/s in "Upsells" and it will appear on your product's page under the product's information. For example, in the image above, this selected "Upsell" product shows under "You May Also Like...". Then you can select a product/s in the "Cross-sells" field, which will show in the cart if your customer adds the current product to their cart.
-
If you have a custom attribute, such as shirt sizes, you can select this on the "Custom Attributes" tab. If you're interested in learning more about this or incorporating custom attributes into your store, here is a helpful tutorial: Custom Attributes.
-
In the "Advanced" tab, you can set the menu order or add a purchase note.
-
In the "Restrictions" tab, you can limit who can see this product by selecting from the dropdowns.
-
The "Product Add-ons" tab allows you to add paid or free options to your products using several field types including radio buttons, checkboxes, drop-down fields, custom text inputs and more. If you're interested in adding these to your products, here is a helpful tutorial: Product Add-ons.
-
Event (optional depending on your website needs) - this is covered in another tutorial: here.
-
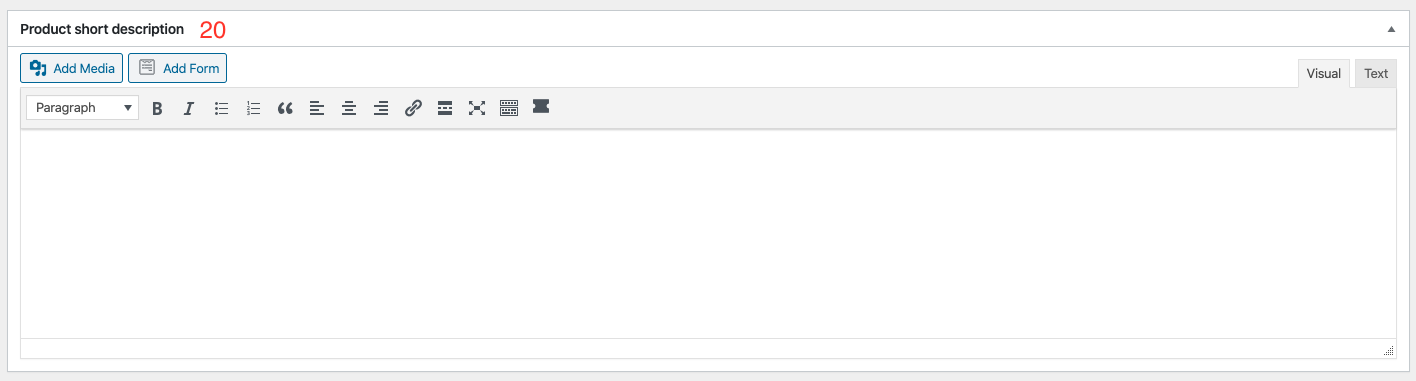
The product short description field will show beside your product's image in the store. It's the first description that your customers will see.
-
After checking over everything, you can click the blue "publish" button at the top right.
It's always a good idea to check over your published product from your customer's view to make sure everything appears correct!